Windows
Installation
-
Download SAYMON agent installer for
Windows 64-bitorWindows 32-bit. -
Run the downloaded file as administrator.
-
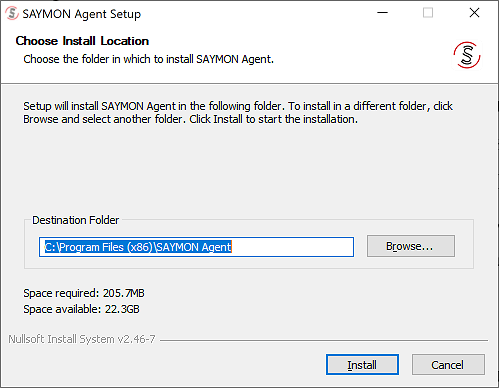
If necessary change the default installation directory (for
Windows 64-bit-C:\Program Files (x86)\SAYMON Agent, forWindows 32-bit-C:\Program Files\SAYMON Agent) and click .
.
-
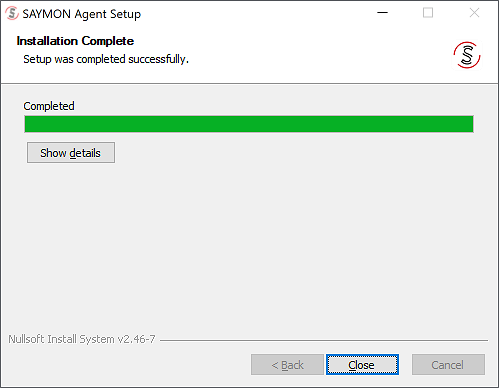
After the installation is complete, click
 .
.
-
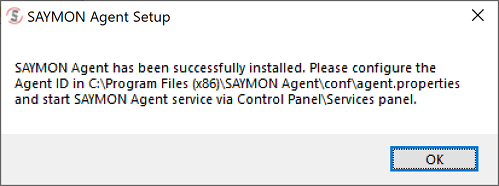
In the opened window, read the further installation instructions and click
 .
.
-
Go to the
conffolder of the agent installation directory and open the agent.properties file (Agent configuration file). -
Use the server.host parameter to specify the IP-address of the SAYMON server for the agent to connect. Save changes and close the file.
-
Open the Services snap-in and start the saymon-agent service.
-
After the agent is registered on the server, a new Saymon Agent class object is created. The server transmits the ID of the created object (agentId) to the agent. The registration.json file is created on the agent host (for
Windows 64-bit-C:\Program Files (x86)\SAYMON Agent\storage, forWindows 32-bit-C: \Program Files\SAYMON Agent\storage) that contains this ID. -
To initiate the procedure for obtaining agentId again (for example, if you need to connect the agent to another server), delete the registration.json file and restart the agent service.
Log files
During operation, the agent creates log files. These files are stored in the log folder of the agent installation directory.
Supported OS versions
The agent runs on the following versions of Windows OS:
-
Windows 7 SP1, 64 bit;
-
Windows 7 SP1, 32 bit;
-
Windows 10 22H2, 64 bit;
-
Windows 10 22H2, 32 bit;
-
Windows 10 Enterprise, 64 bit;
-
Windows 10 Enterprise, 32 bit;
-
Windows 11 Enterprise 22H2, 64 bit;
-
Windows Server 2012 (R2 Datacenter), 64 bit;
-
Windows Server 2016 (R2 Datacenter), 64 bit;
-
Windows Server 2019, 64 bit;
-
Windows Server 2022 (Standard Evaluation 21H2), 64 bit.